Last updated November 22, 2026
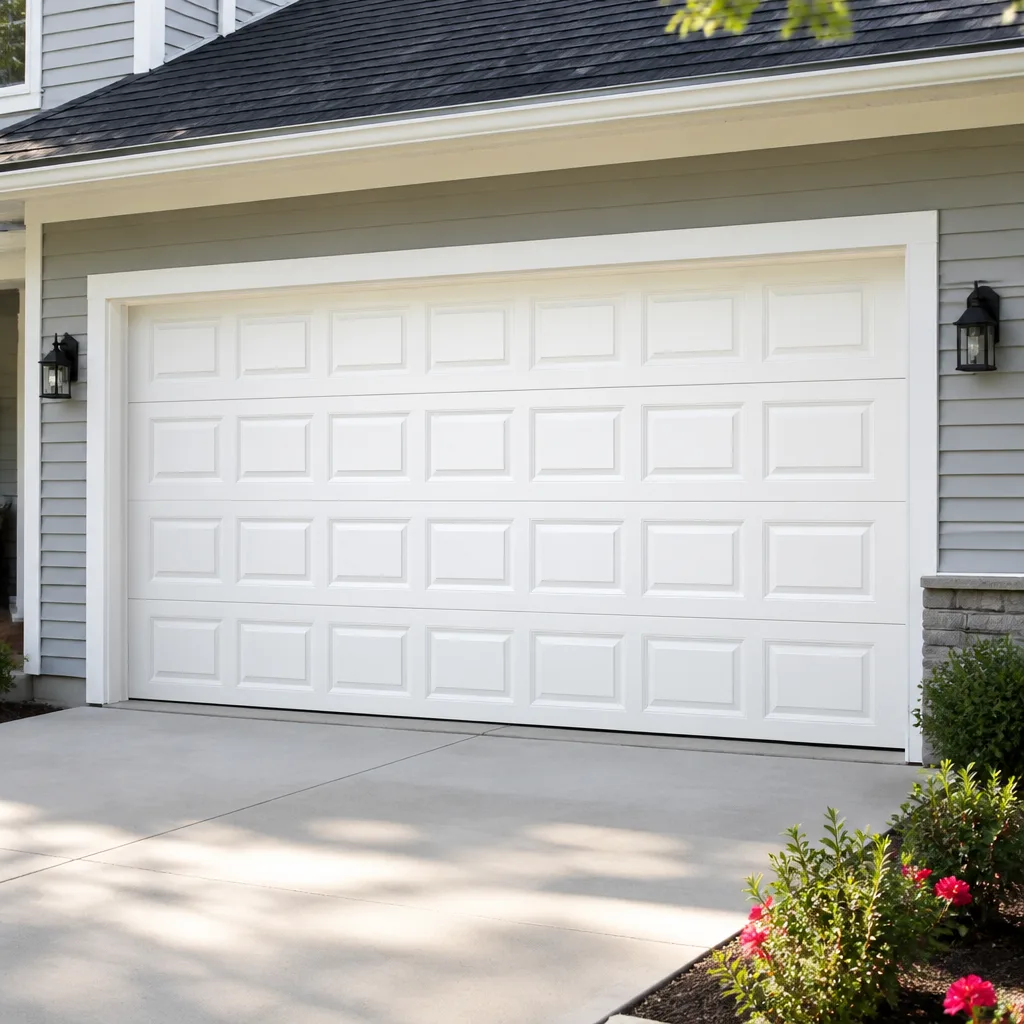 Raised-panel steel
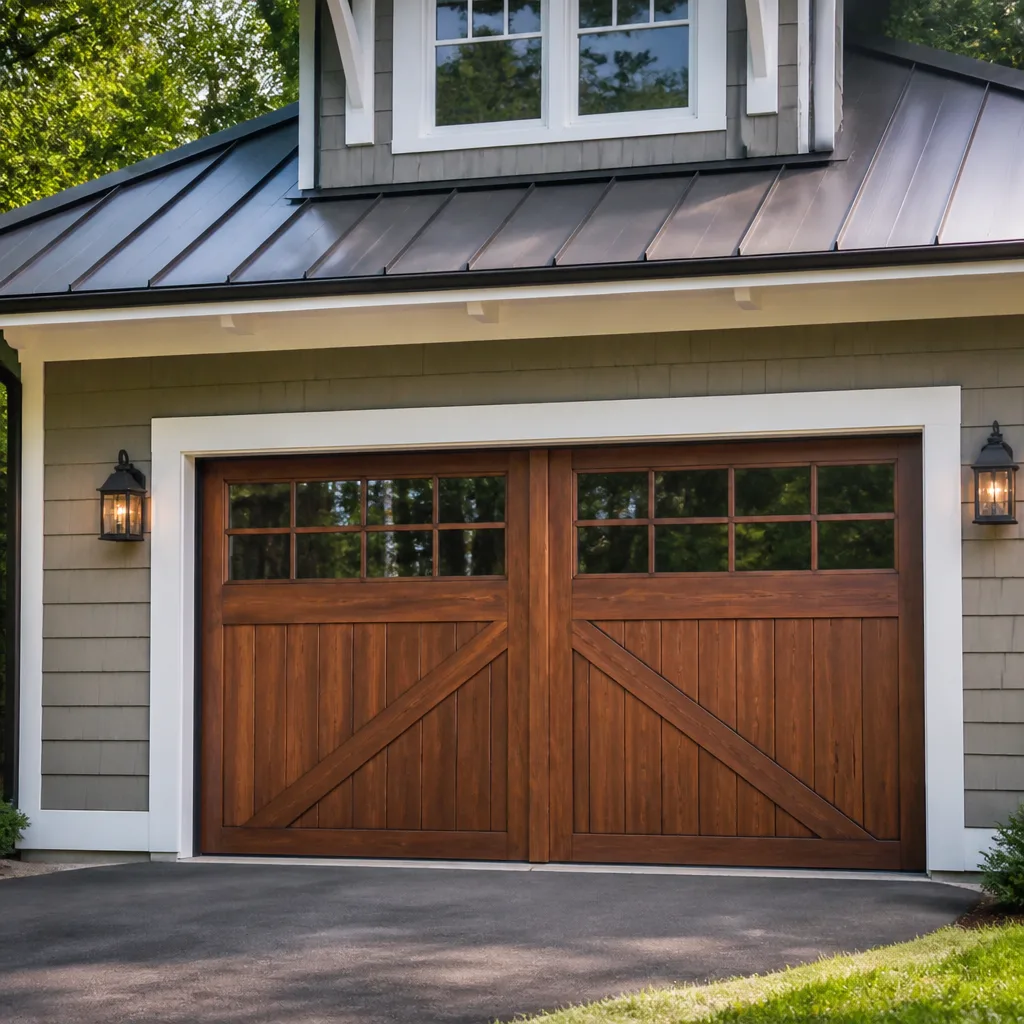 Carriage house
 Modern flush
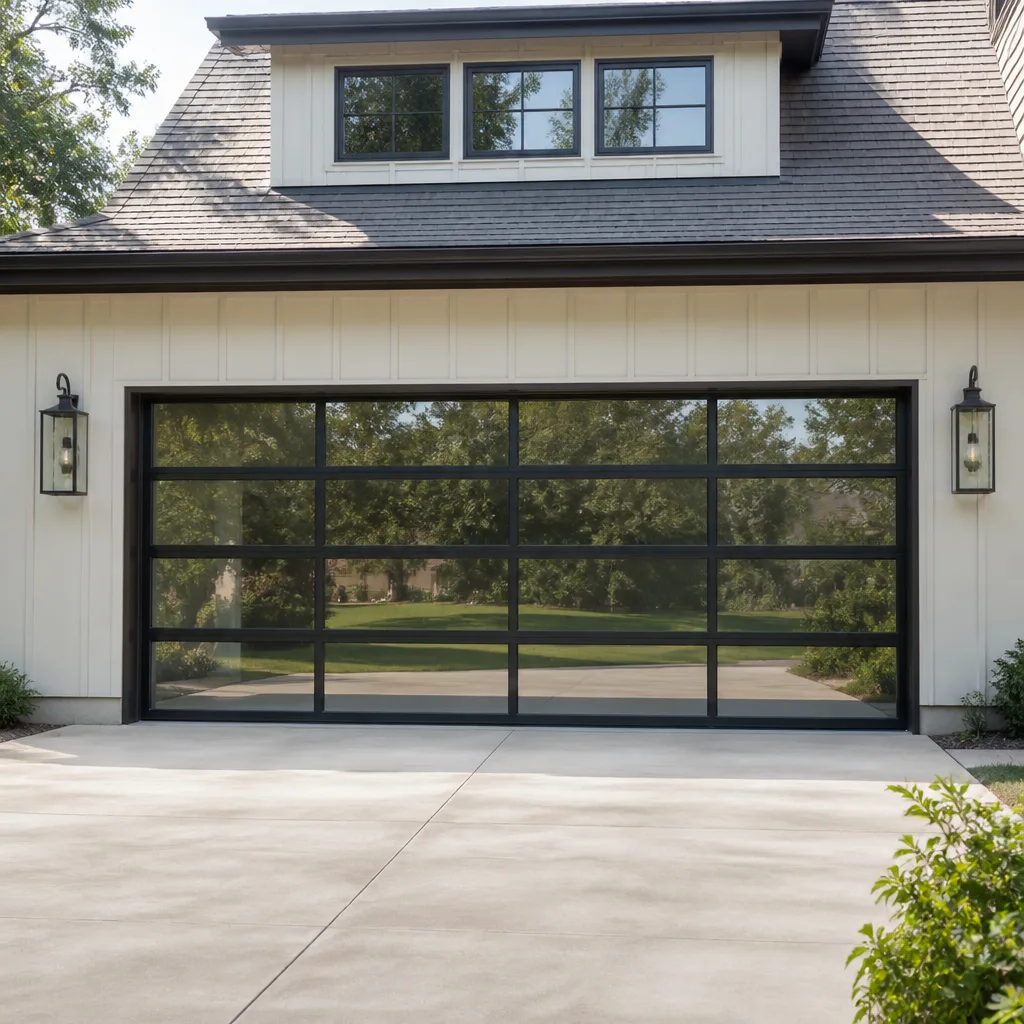 Full-view glass
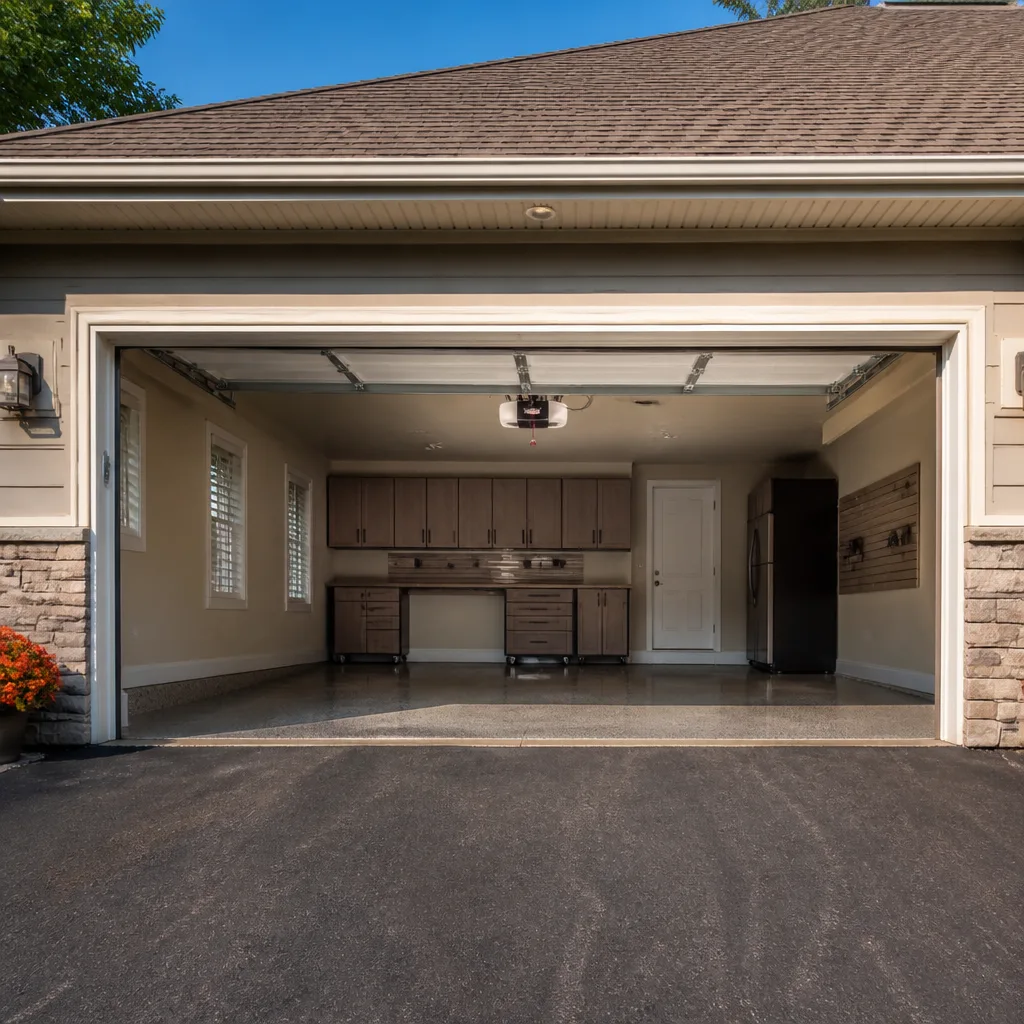 LiftMaster openers
 Chamberlain openers
Full 25-point door and opener safety check with every visit - springs, cables, rollers, tracks, and your LiftMaster or Chamberlain opener included
You get a price before we start. It does not change when the pro arrives.
Get your free estimateGarage Door Repair Maintenance Checklist for Quincy Homeowners
Search “garage door maintenance” and most of what you’ll find is a tidy ten-point list that treats every task the same. That’s the problem. At least one item on nearly every popular checklist – “check spring tension” – is a job that can put an untrained hand in front of 150 to 200 pounds of stored mechanical energy. A torsion spring doesn’t announce itself before it lets go.
This guide draws a hard line down the middle of the list. On one side: the checks and lubrication jobs you can safely do yourself. On the other: the items that need a trained technician, and the mechanical reason why. You’ll also get a balance test you can actually run, the right way to lubricate (WD-40 is not it), what Quincy winters do to weather seals, and a simple way to log your door’s history so the next service call starts from facts. If your door is already broken, our garage door repair page covers how that visit works.
Quick Answer
A safe homeowner garage door maintenance checklist covers four things you can do yourself – a monthly visual inspection, a balance test, lubrication of the hinges, rollers, tracks and springs with a proper lithium or silicone lubricant, and a weatherstripping check before each winter. Everything else, including spring tension, cable adjustment, and any work on the opener’s internal wiring, belongs to a trained technician. A good maintenance routine in Quincy takes about fifteen minutes a month on your own, plus a professional tune-up when something sounds, feels, or looks wrong.
Styles & brands we work with
- Raised-panel steel
- Carriage house
- Modern flush
- Full-view glass
- LiftMaster openers
- Chamberlain openers
Table of Contents
- Where the DIY Line Falls on Every Checklist Item
- The Balance Test: How to Run It and What It Tells You
- Lubrication: The Right Product, the Right Points, and What Over-Lubricating Ruins
- Weatherstripping in Quincy Winters: Cracked vs. Compressed Seals
- Safety Features You Should Test Every Month
- How to Log Maintenance History So a Technician Diagnoses Faster
- When to Call a Professional
- Frequently Asked Questions
Where the DIY Line Falls on Every Checklist Item
This is the heart of the guide. Every item on a garage door is either safe for a careful homeowner with a stepladder or it isn’t, and the difference comes down to stored energy, sharp edges, and electrical components. Here’s the full breakdown.
DIY-Safe Tasks
- Visual inspection. Walking around the door with a flashlight and looking for frayed cables, worn rollers, bent tracks, and loose bolts is always safe. You’re only looking.
- Lubrication. Applying the right product to hinges, rollers, tracks, and the spring coils is a homeowner job. More on the correct products below.
- The balance test. With the door closed and the opener disengaged, lifting the door to shoulder height and checking whether it holds is safe on most doors. If the door feels unusually heavy or won’t stay put, stop and call – don’t force it.
- Weatherstripping inspection. Running your hand along the bottom seal and side seals and looking for cracks, gaps, or a rock-hard feel is safe.
- Safety feature tests. Testing the photo-eye sensors with an object and testing the auto-reverse by hand on the door’s edge is safe and important.
- Hardware tightening. Using a wrench to snug a loose hinge bolt on the door face is fine. Anything attached to a spring or cable is not.
- Cleaning the tracks. A dry rag and a mild cleaner on the track surfaces is safe. Never use solvents or a pressure washer.
Technician-Only Tasks
- Spring tension checks and adjustment. A torsion spring holds 150 to 200 pounds of tension when the door is closed, and a broken spring releases it instantly. Checking tension by hand means reaching for a component that can maim.
- Cable adjustment or replacement. Cables are under the same stored tension and are under tension even when the door is up. A snapped cable whips. This is not a homeowner repair under any circumstances.
- Track realignment. Bending a track back into place can unseat a roller or release a cable. It takes knowing where the load lives.
- Opener wiring and internal components. The opener connects to household electricity. Anything inside the housing that involves line voltage needs a technician, even for a brand like LiftMaster that you know well.
- Panel replacement. Swapping a damaged section means unseating the whole panel while keeping the door under control. Panels for Clopay, Amarr, and Wayne Dalton doors have their own profiles and weights – it’s not a generic swap.
- Roller and hinge replacement on torsion setups. Sometimes safe, sometimes not. If you’re not sure which system you have, treat it as technician-only.
If you’re ever unsure which list an item belongs on, that’s your answer: call. We work on the door systems you already own, whether that’s a LiftMaster opener or a Craftsman setup that’s been there a while. Call (866) 347-1376 with the model and we can tell you straight.
The Balance Test: How to Run It and What It Tells You
A door that’s out of balance puts extra strain on the opener and the springs every single time it moves. You can check balance in about two minutes without tools, and learning what a healthy door feels like will tell you when something’s wrong long before it fails.
How to Run It
- Close the door and disconnect it from the opener. Most openers have a pull cord or a lever for this – the red handle on LiftMaster, Chamberlain, and Craftsman units is the same idea.
- Lift the door by hand to about waist height, then to shoulder height. It should feel steady and relatively light – the springs are doing most of the work.
- Let go at shoulder height. A balanced door stays put or drifts only slightly.
- Lower it to about knee height and repeat.
- Reconnect the opener when you’re done.
What an Out-of-Balance Door Feels Like
A balanced door moves with consistent resistance: no point in the travel feels dramatically heavier than another. An out-of-balance door often feels stiff and heavy at the bottom and then suddenly light near the top, or it drops on its own the moment you let go. Some doors sag to one side, which you’ll notice as a gap at one corner when the door is closed. Others feel spongy, like the spring is doing nothing at all.
That last feeling usually means a broken spring. If the door won’t stay up, don’t keep lifting it – the spring may have let go and the next thing under load is the cable. In our experience, Quincy doors that sit on the sunny side of the house and get the freezing-thaw cycle all winter tend to develop spring fatigue faster than doors on a shaded side. If the balance test feels wrong, that’s a garage door spring repair call, not a DIY job.
Lubrication: The Right Product, the Right Points, and What Over-Lubricating Ruins
Lubrication is the single maintenance task that causes the most self-inflicted damage. The mistake isn’t skipping it – it’s using the wrong product, or using the right product too generously. WD-40, the standard blue-and-yellow can, is a solvent and water displacer, not a lasting lubricant. It will clean away the factory grease and leave the joints drier than they started.
The Right Products
- Lithium grease or silicone spray for hinges, rollers, and springs.
- White lithium grease in a tube for the bearing plates at the ends of a torsion spring.
- Dry silicone spray for the tracks if they’re noisy. A dry film attracts dust and grit; a wet one collects it.
The Right Points
- Hinges – a small drop at each hinge pivot, not a flood.
- Rollers – the stem and bearing, not the roller wheel itself.
- Track curves – the curved section where the door transitions from vertical to horizontal, lightly.
- Torsion spring coils – a light wipe of grease, not a coat.
- Bearing plates – a dab of grease at the center of each plate.
- Operator rail and chain – a chain-drive opener benefits from a small amount of chain lubricant. Never grease a belt.
What Over-Lubrication Damages
Too much grease on the tracks turns them into a magnet for grit, sand, and dust, which grinds against the rollers and wears them out faster. Excess grease also attracts insects and debris and can drip onto the door face, staining it. On the opener chain, too much lubricant collects dust and turns into a paste that binds the chain. A light, targeted application is the whole point: every point gets just enough to look slightly glossy.
Once a year, our technicians do the deeper mechanical checks that come after lubrication – verifying that the spring is still providing the right counterbalance, that the hinges aren’t wallowed out, and that the door isn’t drifting out of level. That’s part of any visit that touches your garage door opener repair needs too, since the opener carries the load the springs don’t.
Weatherstripping in Quincy Winters: Cracked vs. Compressed Seals
Quincy’s winters – wet, freezing, and full of freeze-thaw cycles – are hard on weather seals. The bottom seal and side seals take the most punishment because they do the most flexing. If your garage is unheated, the seals can be the difference between a garage that stays above freezing and one that doesn’t, and the seals also keep out the snowmelt that pools along the door’s bottom edge.
What to Look For
- Cracked seals. Hard, brittle rubber that has split or is flaking. Cracking happens when the rubber has aged and lost its flex. Once the seal is cracked, it can’t be repaired – it’s replaced. You’ll usually find cracks near the door’s ends, where the seal flexes the most.
- Compressed seals. A seal that’s been squashed flat by years of closing pressure and no longer touches the floor in the middle. Run your hand along the bottom – you can feel the “skip” where the seal has given up.
- Gaps and daylight. Close the door and look for daylight along the bottom edge. A thin line of light across the whole width is normal. A bright wedge at one corner means the door is out of level, and the door needs to be looked at, not the seal.
- Side seals. The felt or rubber strips running down each side of the door frame. If the rubber is torn or the felt is worn through, they’ll need replacement before winter.
Timing
The right time to check and replace weatherstripping in Quincy is the early fall, before the first hard freeze. That’s also the right time to make sure your door is balanced and the seals all make contact. It’s better to spend a few minutes in September than to spend the winter with snow blowing in around the door.
Replacing a bottom seal is a DIY job on many doors – it slides out of its retainer. Replacing side seals takes more patience and the right width. If you’re not sure, our technician can identify the seal type and replace it correctly. If your door also needs a new panel or repair, that’s a different job covered in our garage door repair work.
Safety Features You Should Test Every Month
Two safety features matter most on a modern opener, and both can fail quietly. Testing them takes about three minutes a month and could prevent a serious injury.
The Photo-Eye Test
- With the door open and the opener engaged, walk between the two small sensors at the bottom of the door frame. Break the beam.
- The opener’s light should flash and the door should reverse or stop.
- If nothing happens, or the door keeps closing, the sensors aren’t working. Check for a bent bracket, a misaligned lens, or a dead LED. On Genie and Chamberlain units, the sensor LED also tells you whether the beam is being received.
The Auto-Reverse Test
- Stand clear of the door and close it.
- As it descends, place a small object (a rolled towel works) under the door’s edge.
- The door should reverse on contact. If it doesn’t, the opener has a mechanical or electronic fault and shouldn’t be used until it’s fixed.
You can also do a lighter version of the automatic-reverse test by hand – hold your hand flat against the bottom edge as the door comes down and let the pressure trip it – but be ready to move if it doesn’t reverse. Neither of these tests involves any risk if you keep your hands clear of the hinge line.
If either test fails, stop using the opener and call a professional. That’s an garage door opener repair issue you shouldn’t put off. We work on the exact brand in your garage – whether it’s a LiftMaster, a Chamberlain, a Genie, or something older.
How to Log Maintenance History So a Technician Diagnoses Faster
A good maintenance log saves time on every service call and often saves money. When the technician knows what was done last and when, they skip the guesswork and go straight to the likely cause. It doesn’t need to be more than a few lines in a notebook or a note on your phone.
What to Record
- Date and what you did. “Lubricated hinges and rollers,” “replaced bottom seal,” “tested photo eyes.”
- Opener model and serial number. Take a photo of the label inside the opener housing and you’ll never have to look for it again.
- Door make and panel type. Clopay, Amarr, Wayne Dalton, and Raynor doors each have their own profiles and weights. A photo of the door and the panel style is worth keeping.
- Any sounds or behavior you noticed. “Door squeaks in the morning when cold,” “door reverses when it’s cold,” “opener light flickers.” These are clues the technician uses.
- Every repair done, what was replaced, and what it cost. If a spring or opener was replaced, note the model.
Why It Matters
Doors have long memories. A door that had a cable snapped three years ago is a different thing from a door that’s been untouched. In our experience, the diagnostic time on a service call is often cut in half when the homeowner can say exactly what was replaced and when. It also tells a technician whether a component that failed was the original part or a replacement, which affects how they advise you.
If you’ve been using one brand for years – say, a LiftMaster opener with a Raynor door – noting both means the technician arrives knowing which parts to have on hand.
Common Mistakes to Avoid
- Trying to “adjust” spring tension. A torsion spring is under 150 to 200 pounds of stored energy. Even experienced technicians use winding bars and take a specific sequence of steps. A homeowner with a wrench is a hospital visit waiting to happen.
- Spraying WD-40 on the tracks. It cleans away the right lubricant and leaves a sticky residue that attracts grit. The tracks will sound worse a week later, and the rollers will wear faster.
- Ignoring a car that hits the door. A backup bump into the door panel can bend the track, dislodge a roller, or throw the door out of balance. Quincy garages often have tight approach ways, and even a slow-speed bump is worth checking after.
- Waiting until the door won’t close to test the sensors. Photo eyes fail quietly. A door with a dead sensor is an entrapment hazard – the safety feature you never tested is the one that lets you down.
- Greasing the opener’s belt or a chain drive’s sprocket. A belt isn’t greased. A chain gets a small amount of appropriate chain lubricant, not axle grease. Over-lubrication collects debris and shortens the drive’s life.
- Patching the weather seal with tape before winter. A taped seal fails the first cold snap. If the rubber is cracked or compressed, it needs replacement, and it’s easier to do before the snow.
- Trimming a door that’s out of level by adjusting the tracks. A door that hangs crooked usually needs the spring or cable addressed, not the track. Track bending is a technician job and forcing it can release a cable.
When to Call a Professional
Some garage door problems are maintenance. Others are a service call waiting to happen. Call a professional if the door won’t stay up after the balance test, if a spring looks broken or the door suddenly feels extremely heavy, if a cable is frayed or hanging, if the door has jumped its track, if either safety feature fails its test, if the opener is grinding, humming without moving, or making any noise it didn’t used to make, or if the door is sticking or binding at any point in its travel.
We do all of this work – from spring to opener to full installation – and we offer emergency garage door service for the cases that can’t wait. Quincy Garage Door Repair Pros offers free estimates in Quincy. Call (866) 347-1376 and we’ll give you the right fix, not the easy one.
Frequently Asked Questions
Run the visual inspection, balance test, lubrication, and safety-feature tests monthly, and give weatherstripping a closer look before each winter. A professional tune-up is worth doing whenever something sounds off – a squeak, a grumble, or a door that doesn’t feel the same as it did. In Quincy, the freeze-thaw cycle in late fall makes that an especially good time to check the door. Call (866) 347-1376 for a free estimate on a maintenance visit.
No. Leave it to a trained technician. A torsion spring holds 150 to 200 pounds of tension when the door is closed, and a broken spring releases that energy instantly. There’s no safe way for a homeowner to check spring tension by hand – the balance test we describe above is the safe alternative, and if it feels wrong, stop and call us. Call (866) 347-1376 for a free estimate on garage door spring repair.
White lithium grease or silicone spray, not WD-40. Apply it to hinges, rollers, tracks, and the torsion spring coils, then wipe off any excess. Over-lubricating is as bad as skipping it, because the extra grease attracts grit and wears the rollers faster. If you’d rather have a technician handle the deeper mechanical checks along with the lubrication, call (866) 347-1376 – estimates are free.
No. An out-of-balance door usually needs the springs or cables adjusted, and both are technician work. You can safely run the balance test (disconnect the opener, lift the door to shoulder height, let go), and you can report what you feel. If the door drops on its own or feels unusually heavy, stop using it and call. Call (866) 347-1376 for a free estimate.
They speed it up. The freeze-thaw cycle hardens the rubber on the bottom and side seals, then cracks it. Cracking and compression are the two failures to look for – a cracked seal needs replacement, and a compressed seal has lost contact with the floor. Check before the first hard freeze; replacing it in the fall is easier than patching around it in the snow. Call (866) 347-1376 to have a technician identify the seal type and replace it correctly.
We work on LiftMaster, Chamberlain, Genie, Clopay, Amarr, Wayne Dalton, Craftsman, and Raynor. That includes the openers, the doors, and the springs. When you call, tell us the brand and model of your opener and door – if you have the maintenance log, even better, because the more we know, the faster the diagnostic. Call (866) 347-1376 for a free estimate.
The Bottom Line
The best garage door maintenance checklist isn’t the longest one – it’s the one that tells you which tasks you can safely run yourself and which ones are a technician call. Do the monthly visual check, balance test, lubrication, and safety-feature tests. Keep a simple log. Check the weatherstripping before winter. And when something feels wrong, sounds different, or looks broken, treat it as a call. Quincy Garage Door Repair Pros works on the exact brand in your garage, whether it’s a LiftMaster opener or a Craftsman door, and we’ll always give you the right fix, not the easy one. Call (866) 347-1376 for a free estimate.
Written by the team at Quincy Garage Door Repair Pros.
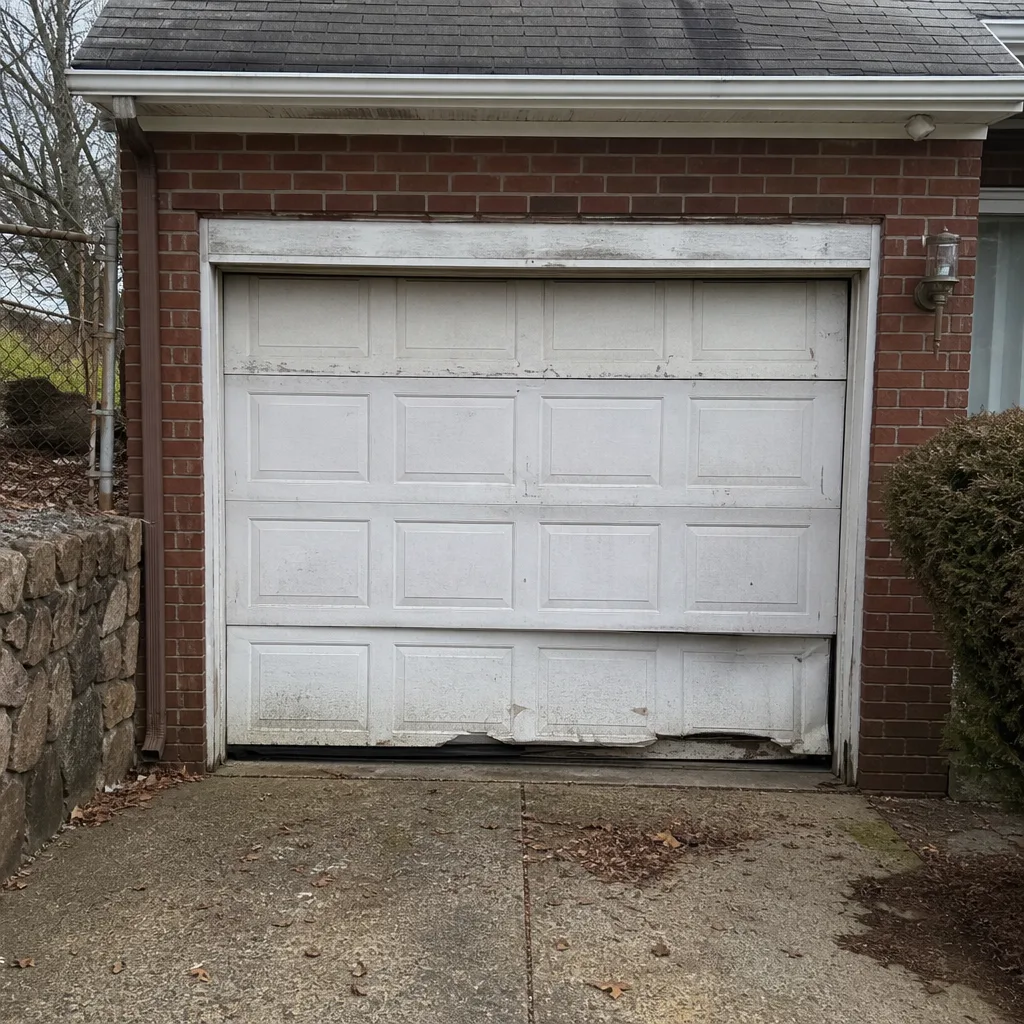
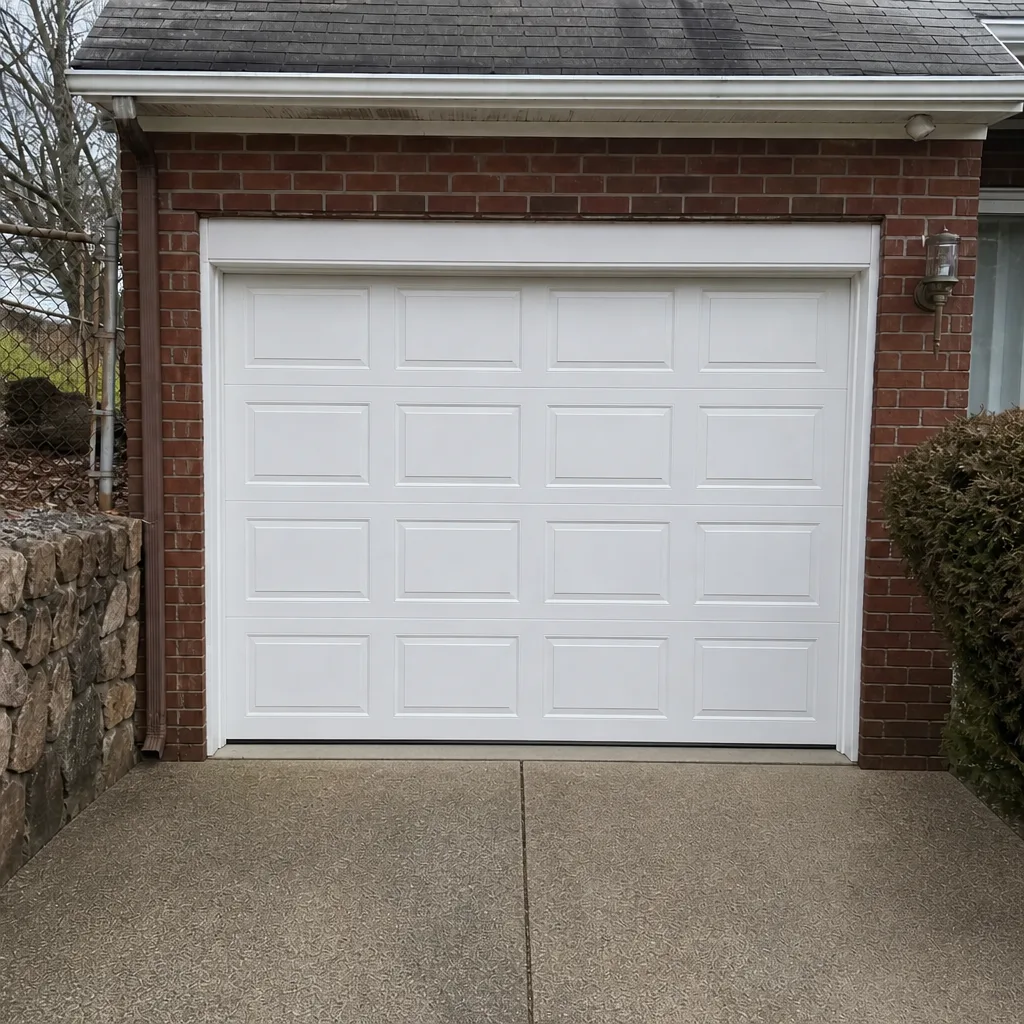
See the difference
 Before
 After
 Before
 After
 Before
 After